|
|
Sizes and Materials List …
|
|
| Size: | Varies depending on size of bowl to be made |
| Hook(s): |
US E/4 (3.50 mm) |
| Yarn: | Aunt Lydia’s Classic Crochet Thread Size 10 [100% mercerized cotton, 300 yds/ball] |
| Colors & Approx. Yardage |
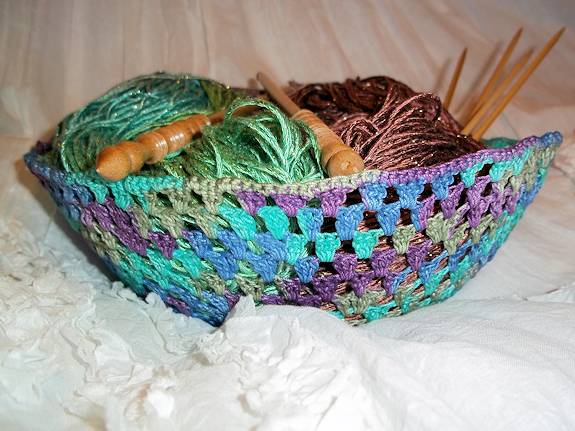
Sample uses 0930 Classic Monet Multi |
| Notions | Yarn Needle Large Sturdy bowl Small bowl Plastic wrap Newspaper Textile Stiffener:
|
| Gauge: | Gauge is not important for this pattern |
 |
|
|
Notes …
|
|
| Doily Size | Measure your bowl from the center of the base to about 1/2 to 1″ from the top edge. Double this measurement and this will be the total width you need to make your doily to. For example, if your bowl is 4″ from the base center to 1″ from the top edge, then your doily will need to be 8″ wide from edge to edge. |
| Stitches Used | Chain (ch) Slip Stitch (sl st) Single Crochet (sc) Double Crochet (dc) |
| Abbreviations |
Each (ea) |
|
Instructions …
|
|
| Single Color Bowl | |
| Round 1 | With magic circle, ch 3 (beg dc here and throughout), dc, ch 1, [2 dc, ch 1] five times, join with sl st in top of beg dc. (6 2-dc, ch 1 reps) |
| Round 2 | Turn, sl st into first ch-1 sp, [ch 3, dc, ch 1, 2 dc, ch 1] into same ch-1 sp, [2 dc, ch 1, 2 dc, ch 1 into next ch-1 sp] five times, join with sl st in top of beg dc. (12 2-dc, ch 1 reps) |
| Round 3 | Turn, sl st into first ch-1 sp, [ch 3, 2 dc, ch 1] into same ch-1 sp, [3 dc, ch 1 into next ch-1 sp] 11 times, join with sl st in top of beg dc. (12 3-dc, ch 1 reps) |
| Round 4 | Turn, sl st into first ch-1 sp, [ch 3, 2 dc, ch 2] into same ch-1 sp, [3 dc, ch 2 into next ch-1 sp] 11 times, join with sl st in top of beg dc, (12 3-dc, ch 2 reps) |
| Round 5 (increase row) | Turn, sl st into first ch-2 sp, [ch 3, 2 dc, ch 1, 3 dc, ch 1] into same ch-2 sp, [3dc, ch 1, 3 dc, ch 1 into next ch-2 sp] 11 times. (24 3-dc, ch 1 reps) |
| Rounds 6-7 | Rep round 3. |
| Round 8 | Rep round 5. |
| Rounds 9+ | Rep rounds 6 through 8 until doily is as large as you need it to be. Sample stopped at round 16. Fasten off. |
|
Multi-Color Bowl |
|
| If using multiple yarn colors, fasten off ea color after joining to beg dc then join next color in any ch-1 sp (don’t turn). Continue with round by following the pattern starting with making the beg dc. Work in ends from previous row into sts as you go. | |
|
Finishing … |
|
| Weave in ends. Wash and dry as needed but blocking isn’t necessary. | |
| Make Into a Bowl … | |
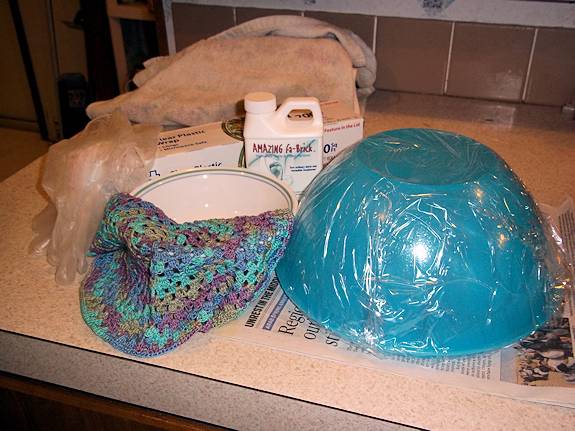
| Select a bowl that is larger than your doily by about 1″ and cover the bottom with plastic wrap to protect it and allow you to easily remove the bowl. Place newspaper and/or plastic wrap on the surface you will be working on and place the bowl, upside down, on the newspaper. Put on latex gloves – the same kind you use to apply hair dye. | |
 |
|
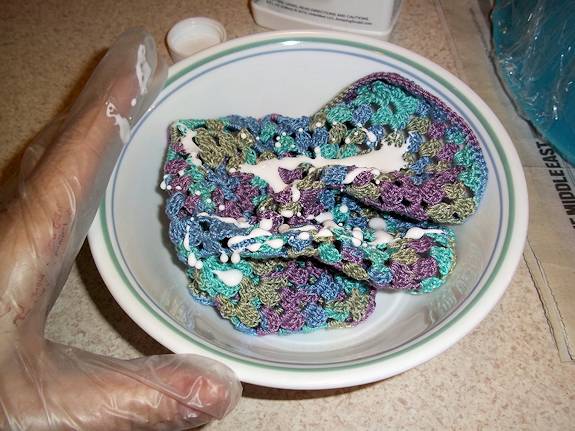
| Place the doily into a bowl and pour some of the hardening product on it. | |
 |
|
| Begin working in the product with your gloved hands, adding more product as needed. The piece should have a white haze because of the amount of product used. If you don’t use enough, it will not have enough of the hardener in it and will dry faster than you can mold it and won’t be as stiff as it should be. | |
 |
|
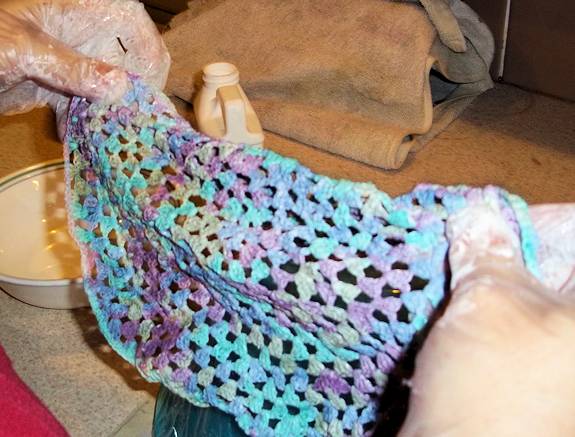
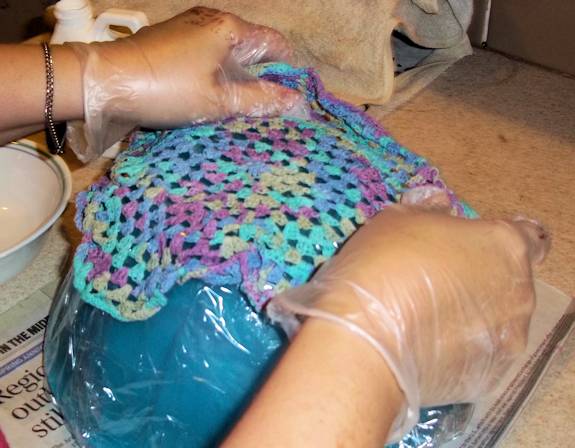
| Once you have enough of the hardener worked in, open up the piece as much as possible and start draping it over the bowl. Since I was using Amazing fa-Brick, I now had about 15 minutes of working time. | |
 |
|
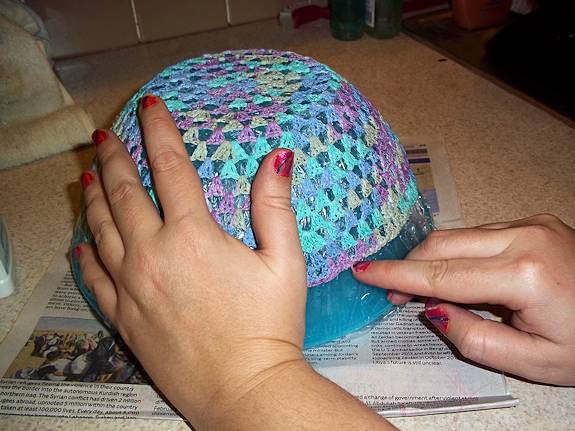
| Line up the center of the piece with the bottom center of the bowl. Begin stretching it slightly to the edges of the bottom making sure the same round of the design is aligned to the edge all the way around, i.e., if round 5 reaches the edge, make sure it does so all the way around so it won’t be lopsided. | |
 |
|
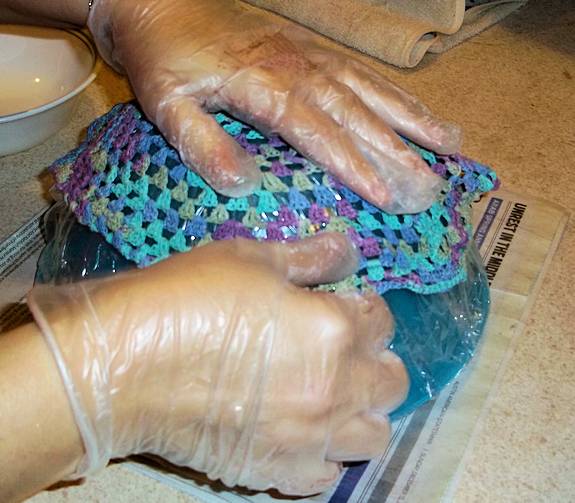
| Continue to gently stretch the doily down the sides of the bowl. Work quickly but gently to pull out any wrinkles and folds while making sure the stitches are well defined. | |
 |
|
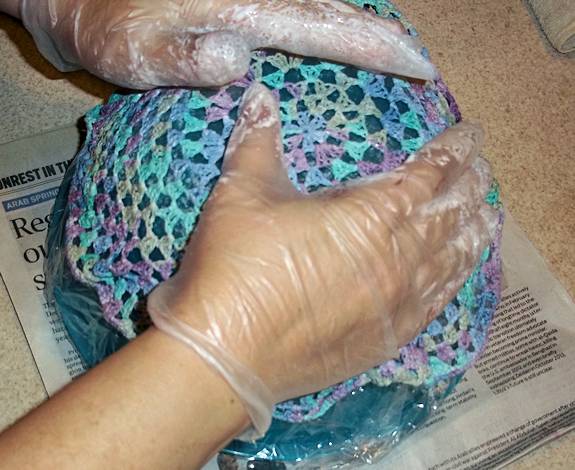
| Continue adjusting as necessary. By now, the hardener on the gloves will probably be a bit sticky and may stick to the doily so be careful about pulling away too fast as it will also pull the doily away from the bowl. | |
 |
|
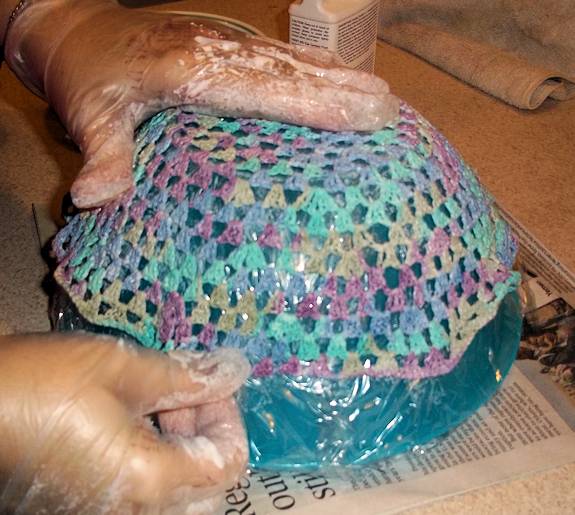
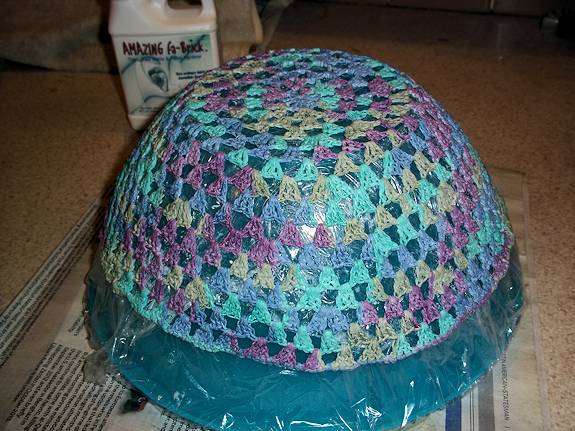
| Once you are happy with the bottom and sides, finish up by making sure the edges are unrolled and as straight as possible. | |
 |
|
| Make final adjustments … | |
 |
|
| Leave to dry for a couple of hours then check to see if it is dry/stiff enough to remove from the bowl. | |
 |
|
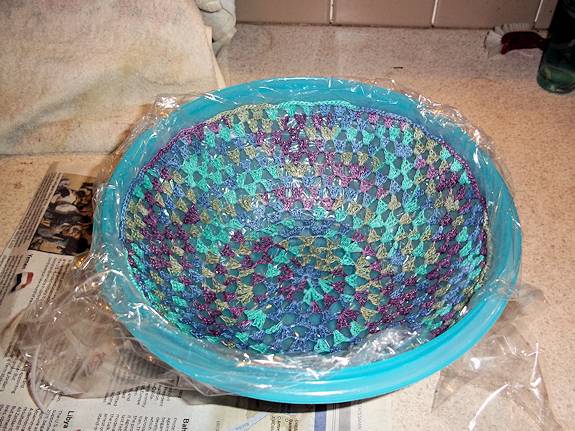
| Pick up the bowl and unwrap the plastic wrap from under the bowl you used as a mold and gently remove it entirely. Peel the plastic wrap from the doily and turn the bowl upside down. | |
 |
|
| If you’re concerned about the bowl’s stability since the inside probably isn’t completely dry yet, add plastic wrap inside the bowl mold and insert the doily bowl. Don’t push it down too much or the top edge will get bunched up. Allow to completely dry then remove from the mold. Check the inside for any flakes that dried between the stitches and use a soft toothbrush to remove them. | |
 |
|
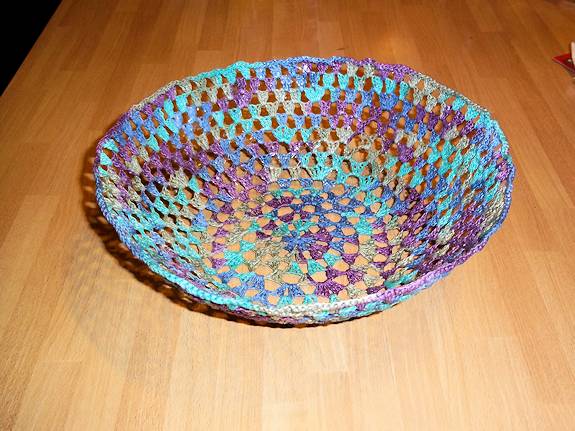
| The bowl will be moisture resistant but to make it waterproof, apply a permanent waterproof varnish. | |
 |
|
| Pattern and photos © Darlisa Riggs, CatBird Studios | |