|
|
Sizes and Materials List …
|
|
| Size: |
Women’s Small [Medium, Large] |
| Hook(s): |
US G/6 (4.0 mm) or size needed to obtain gauge. |
| Yarn: |
Bijou Basin Ranch Bijou Spun Yarn [75% Pure Yak Down, 25% Super Fine Merino, 200 yds/2 oz skein] |
| Colors & Approx. Yardage: |
Cream |
|
Notions: |
Yarn Needle |
| Gauge: | 6 sc and 7 rows = 1″ |
|
Notes …
|
|
| Working |
|
| Stitches Used |
Single Crochet (sc) |
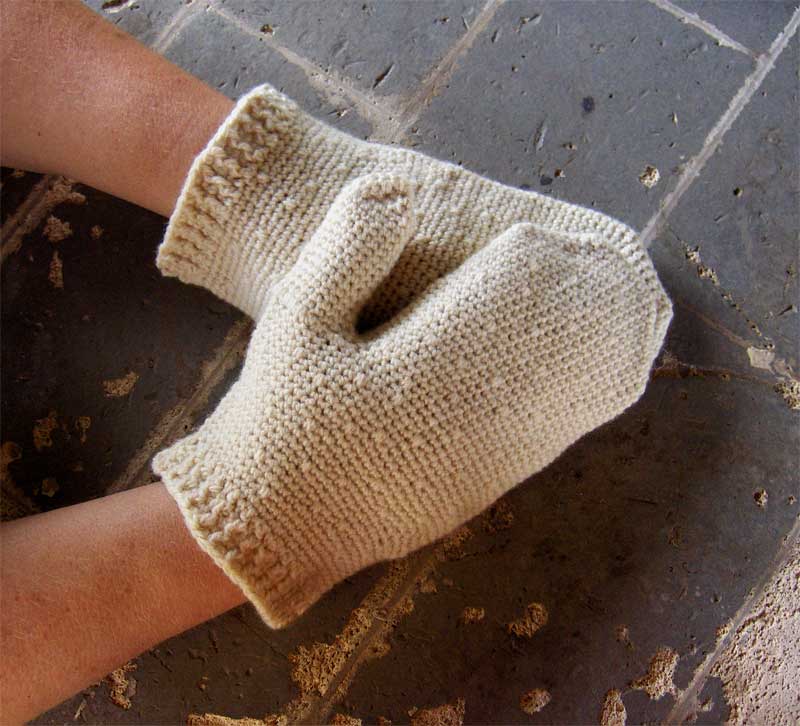
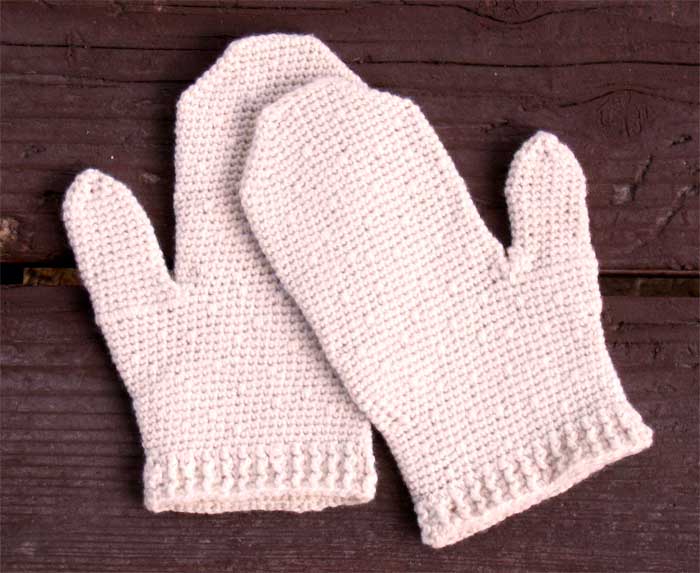
| Special Stitches | “Snow” Stitches The snow stitches are made by working the sc into the space of the row below. No specific instructions are given for placing the snow stitches, just place them randomly on the back (right side) of each mitten or use the provided graphs to design your own pattern. |
| Abbreviations | each (ea) place marker (pm) Right Side (RS) |
| Graphs |
|
|
Instructions …
|
|
| Fingertips | |
| Round 1 |
Ch 9, sc in second ch from hook, sc in next 6 ch (mark as RS for right mitten), 3 sc in last ch, placing a marker in the second sc. Continuing around the ch, sc in back loop of each ch across with 2 sc in last back loop (mark as RS for left mitten), pm in last sc. (18 sc) Note: Crochet over the yarn end as you sc in the back loops. This will strengthen the sts by allowing you to crochet over two strands instead of just the one back loop. |
|
Rounds 2-8 (2-9, 2-10) |
The top rounds of the mitten are made the same way, which adds four sts per round: NOTE: Move markers up as you go. 2 sc in first sc, *sc in next st; rep from * until sc before marker, 2 sc in next sc; sc in marked st, 2 sc in next sc; *sc in next sc; rep from* to last sc before marker, 2 sc in next sc, sc in marked st. (22 sts) On round 3, make a “snow” stitch just before the center on the right side. Continue until there are 46 (50, 54) sc, adding “snow” stitches randomly on the RS as you go. |
| Hand | |
| Rounds 9-32 (10-35, 11-35) | Sc in ea sc around, adding “snow” stitches randomly on RS, until piece reaches about 1/2″ before thumb, approximately 4.5″ [5″, 5″] from fingertip. (46 [50, 54] sts) |
| Thumb Opening | |
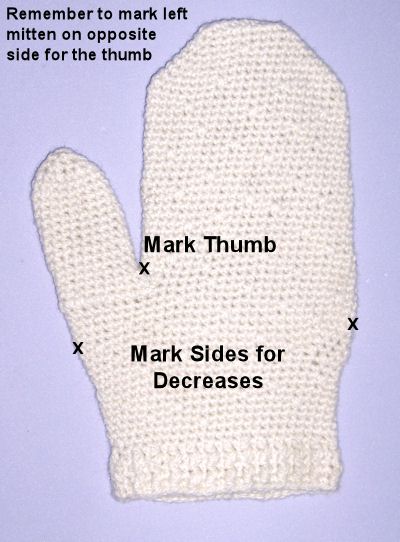
| Round 33 (36, 36) | With right (snow) side facing up, lay piece flat and mark the st on the left bottom (right mitten) or right bottom (left mitten). Sc in ea sc around to st just before marked st, ch 18 (20, 20), sk 3 sc, sc in next sc. Pm after thumb ch for right mitten, before thumb ch for left mitten. (64 [70, 74] sts) |
 |
|
| Palm Base | |
| Rounds 34-38 (37-41, 37-41) | Sc in each sc around until you reach the chs, sc in each ch, continue making scs in each sc around for four more rounds, remembering to add “snow” sts on the RS as you go. |
| Round 39 (42, 42) Decrease Round |
Right Mitten: Left Mitten: |
| Rounds 40-41 (43-44, 43-44) | Repeat from * to * of previous round, adding “snow” sts on the RS as you go. (58 [64, 68]) |
| Rounds 42-43 (45-46, 45-46) | Sc in ea sc to 2 sc before marker on thumb side, sc2tog. (56 [62, 66]) |
| Wrist | |
| Rounds 44-53 (47-56, 47-56) | Sc in each sc around for 10 rounds. Join with sl st at end of last round. (56 [62, 66])
Note: The opening will be a little loose but since the yarn doesn’t stretch much, you won’t be able to get it over your hand if the cuff is too tight. If using a stretchier yarn, you can decrease using four sc2tog spaced evenly around on the last one or two rounds. |
| Cuff | |
| Round 54 (57, 57) | Ch 1, sc in same sc, pm in sc (move up as you go), *dc in next sc, sc in next sc,* repeat from * to * around, ending with a dc, join with sl st in first sc (skipping ch 1). |
| Round 55 (58, 58) | Ch 1, sc in same sc and in ea st around, join with sl st in first sc. |
| Round 56 (59, 59) | Ch 1, sc in same sc, *fpdc in dc of previous round, sc in next sc,* repeat from * to * around, ending with a dc, join with sl st in first sc (skipping ch 1). |
| Rounds 57 (60, 60) | Repeat round 55 |
| Round 58 (61,61) |
Ch 1, sc in same sc, *fpdc in fpdc of previous round, sc in next sc,* repeat from * to * around, ending with a dc, join with sl st in first sc (skipping ch 1). (Optional) If you want the cuff to be longer, repeat rounds 57 and 58 again. Fasten off. Note: If using the Bijou Spun Yak/Merino yarn, do not pull too tightly when fastening off or the yarn will snap because of the short fibers |
| Thumb | |
| Round 1 | Join yarn on palm side of thumb, *sc in ea sc around, working sc2tog where thumb joins the palm on front and back* (this decreases ea round by 2 sts).
Note: When I made the joining round, I crocheted into the spaces of the row below so that it made a small ridge. If you don’t want the ridge, crochet into the top of the round, which would be the back loop of the thumb hole chain made earlier. Work the tail of the joining yarn into the stitches to strengthen them. |
| Rounds 2-4 | Repeat from * to * of round 1. |
| Rounds 5-14 | Sc in each sc around. Measure thumb to make sure it is 2″ in length from where it joined the palm. Add or remove rounds as needed to obtain length. |
| End Rounds | Sc in next sc, *sc2tog, sc,* repeat from * to * around until 2 or 3 sts remain. Fasten off. |
| Finishing … |
|
|
Weave in ends. Use tail on thumb to close the small hole at the tip of the thumb. Wash and block as needed. |
|
|
|
|
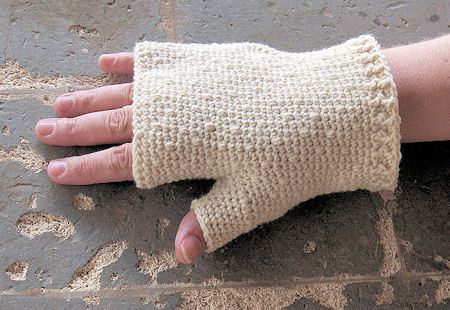
| Fingerless Version | |
| Hand | |
| Round 1 | Ch 47 (51, 55), sc in second ch from hook and in ea ch across, join with sl st to first sc.
Note: Use a sc foundation row for a nicer beginning to the glove. |
| Round 2 | Sc in each sc around. Fold piece in half and pm in st at ea side. Mark top as RS for right mitten, mark bottom as RS for left mitten. |
| Round 3 | Sc in ea sc around, making at least one “snow” st on RS. |
| Rounds 4-15 (4-19, 4-19) | Sc in ea sc around, making “snow” sts on RS as you go. |
| Thumb Opening, Palm Base, Wrist | |
| Follow instructions for full mitten. | |
| Thumb | |
| Follow rounds 1-9 (or rounds 1-7 if you have a short thumb like me) of full mitten thumb instructions. Fasten off. | |
| Finishing … | |
|
Weave in ends. Wash and block as needed.
|
|
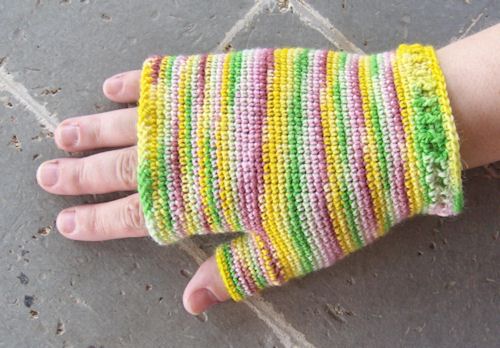 Version without any “snow” stitches, longer wrist with additional decreases under thumb, and shorter cuff ending with sc. Yarn is a sock weight so required additional rows in order to get the length and shaping correct. |
|
| Pattern and photos © Darlisa P Riggs, CatBird Studios | |
