|
|
Sizes and Materials List …
|
|
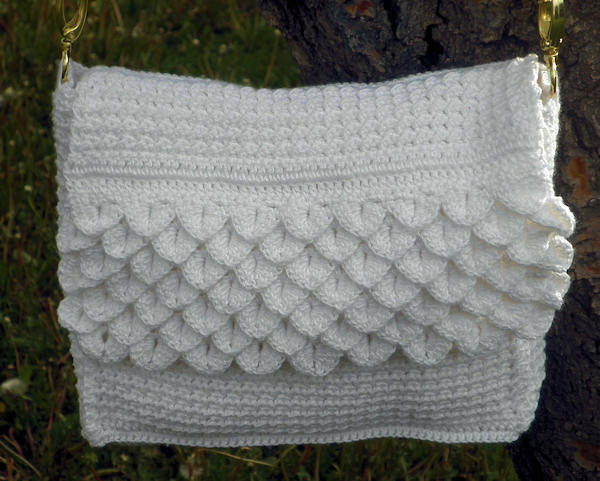
| Size: | 9″w x 7″l x 2″d |
| Hook(s): |
US F/5 (3.75 mm) |
| Yarn: | Red Heart Luster Sheen [100% Acrylic, 335 yds/113 g skein] |
| Colors & Approx. Yardage |
White, 350 yds |
| Notions | Yarn Needle Purse Strap or Chain Attachments to join strap to purse 1 yard Cotton Fabric for Lining Scissors Straight Pins Sewing Machine Straight edge ruler Pencil |
| Gauge: | Gauge is not that important for this project |
 |
|
|
Notes …
|
|
| Repeats |
Crocodile scale repeats are 6 sts plus 5 chs at the end. If using a thicker thread, adjust the number of chs on the beg ch so your piece is 9-9.5″ wide (or as wide as you’d like). |
| Stitches Used |
Chain (ch) Special Stitch: V stitch= 2 dc in same stitch |
| Abbreviations |
Each (ea) |
|
Instructions …
|
|
| Purse Flap | |
| Base Chain | Ch 57.
Note: Do not use an fsc for the base ch. |
| Row 1 | Two dc in sixth ch from hook (beg dc and ch 2), *ch 2, sk 2 ch, dc in next ch, ch 2, sk 2, 2 dc in next ch,* rep from * to * to end of ch ending with one dc in last ch. |
| Row 2 | Ch 1, *turn piece 90 degrees, sk beg dc, 5 dc around post of first dc of first v-stitch, ch 1 (bottom point of scale), rotate piece so the 5 dcs you just made are on the left and the second dc of the v-stitch is on the right, 5 dc around post of second dc, rotate piece so top of “scale” is at top of the piece, sl st around next dc to anchor top of scale,* rep from * to * across ending with a sl st in top of beg dc.
Written instructions are not easy to follow without seeing a video so I highly recommend you view the following: |
| Row 3 | Ch 3 (beg dc), turn, dc in first dc, ch 2, *dc in center space of next scale, ch 2, 2 dc in next dc, ch 2,* rep from * to * across ending with 2 dc in beg dc. |
| Row 4 | Rep row 2 but this time, start the scale in the first v-stitch and end with a scale in the last v-stitch. The scales will be in between the first row of scales with the first and last scales hanging over the edge of the first row. |
| Row 5 | Ch 1, sl st in side of dc of scale (usually two sl sts will do), sl st in center sp of same scale, ch 5, *2 dc in next dc, ch 2, dc in center sp of next scale, ch 2,* rep from * to * to end, ending with one dc in center sp of last scale. |
| Row 6 | Rep row 2. |
| Row 7+ | Rep rows 3 through 6 until flap is at least 3″ long. Example purse has seven rows of scales. If you want a longer flap over the front of the purse, continue until it is as long as you like. Do not fasten off. |
| Flap Top | |
| Row 1 | Ch 1, turn, sc across with one sc in scale center sp, two sc in each ch-2 sp, and one sc in ea dc. (54 sc) |
| Row 2-3 | Ch 3, turn, dc in ea st across. (54 dc) |
| Row 4 | Ch 1, turn, sl st in first dc, *hdc in next dc, sl st in next dc,* rep from * to * across ending with a hdc. |
| Row 5 | Ch 1, turn, sl st in first hdc, hdc in first sl st, *sl st in next hdc, hdc in next sl st,* rep from * to * across. |
| Rows 6-14 | Rep row 4. If you want a deeper purse, add rows as needed to cover the required depth. |
| Row 15 | Ch 3, turn, dc in first sl st and in ea st across. |
| Row 16 | Ch 1, turn, sc in ea dc across. Fasten off. |
|
Purse Back and Front Panels (make 2) |
|
| Base Chain | Make an fsc of 54 sts. Make sure that if you increased or decreased the flap size or used a different yarn that you make the base chain to match the number you used on the flap. |
| Row 1 | Ch 1, turn, sc in ea st across. |
| Row 2 | Ch 1, turn, sl st in first sc, *hdc in next sc, sl st in next sc,* rep from * to * across ending with a hdc. |
| Row 3 | Ch 1, turn, sl st in first hdc, hdc in first sl st, *sl st in next hdc, hdc in next sl st,* rep from * to * across. |
| Row 4-46 | Rep row 3. If making a different sized purse or a different yarn weight, make a note of how many rows you made as this will be needed to make the other pieces. |
| Row 47 | Ch 1, turn, sc in ea st across. For front panel, fasten off. For back panel, see instructions below, do not fasten off. |
 |
|
| Attach Back Panel to Front Flap | |
| Hold back piece and front flap together with right sides together. Back piece should be closest to you with working yarn on the right. Join the two pieces by crocheting together through each st with a sc. Fasten off at the end. | |
| Purse Side Panels (make 2) | |
| Row 1 | Make an fsc of 14 sts (about 2″ wide). |
| Rows 2-47 | Rep rows 2-47 of purse back/front. |
| Purse Base Panel | |
| Row 1 | Make an fsc of 54 sts (or how ever many are needed to match the front/back panels you made). |
| Row 2 | Ch 1, turn, sc in ea st across. |
| Row 3-15 | Rep row 2. |
| When you finish row 14, check the short end width against the short end of one of the purse sides to see if the width matches. Add or remove rows as needed to match. | |
|
Join Base to Front and Back |
|
| Decide if you want the seams inside the purse or outside (the example purse has them on the outside). | |
| For inside seams, hold the pieces right sides together and sew or crochet together. | |
| For outside seams, hold the pieces wrong sides together and crochet together with a sc in ea st. | |
| Join the base of the front and back pieces to the long ends of the base. Fasten off. | |
| Join Side Panels | |
| Join the side panels to ea short side of the front and back panels and short end of the base panel. Make sure you join them the same way as you did the base to the front and back so the seams are consistent. Start joining at the top of one long end, down the side, across the bottom, and back up the other side. Fasten off. | |
| Finishing … | |
|
Weave in ends. Wash and block as needed. |
|
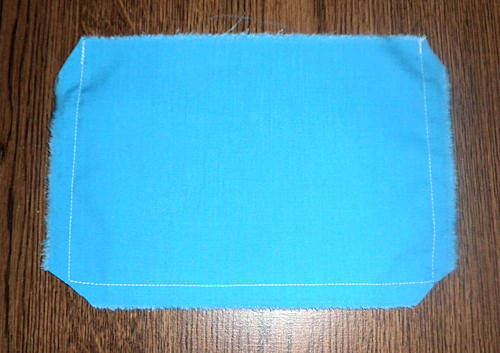
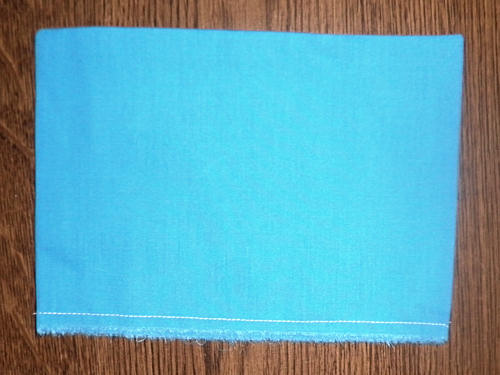
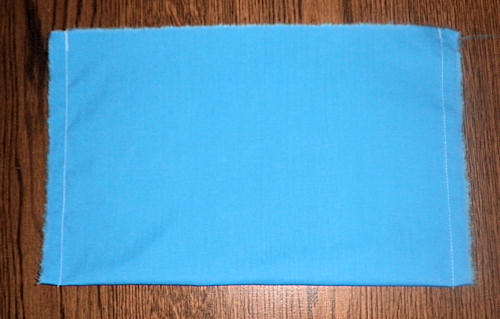
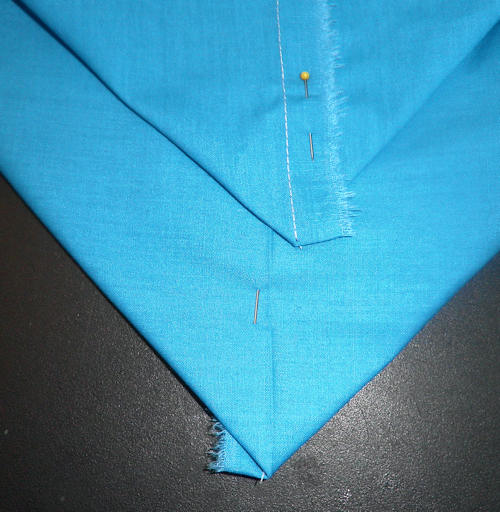
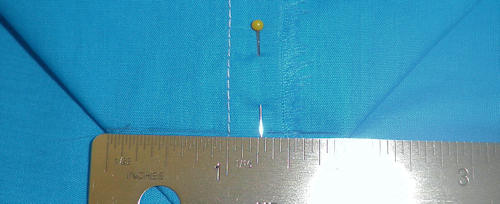
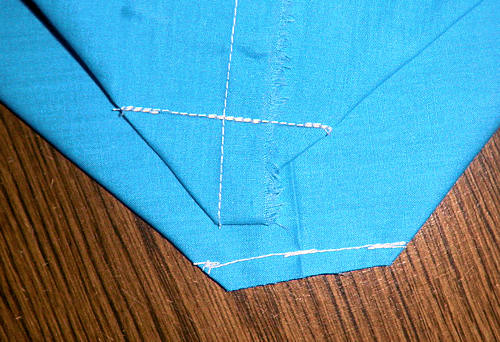
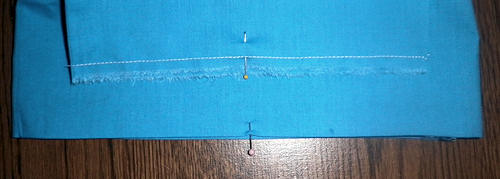
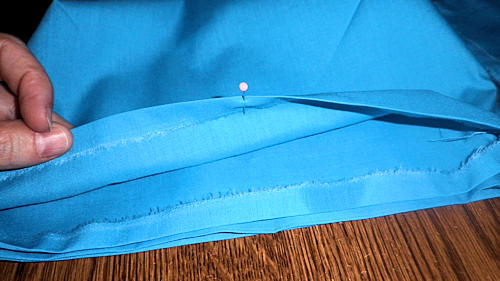
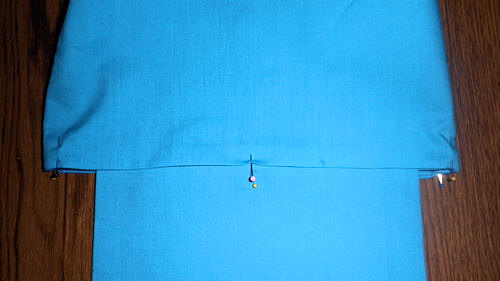
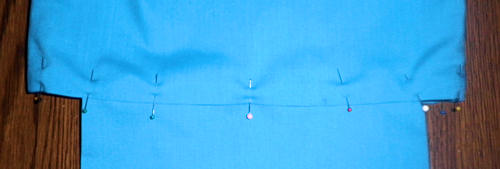
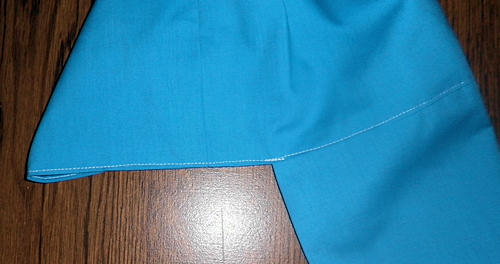
| Lining | |
You will be making two bags for a double lining with a flap inserted at one edge.
|
|
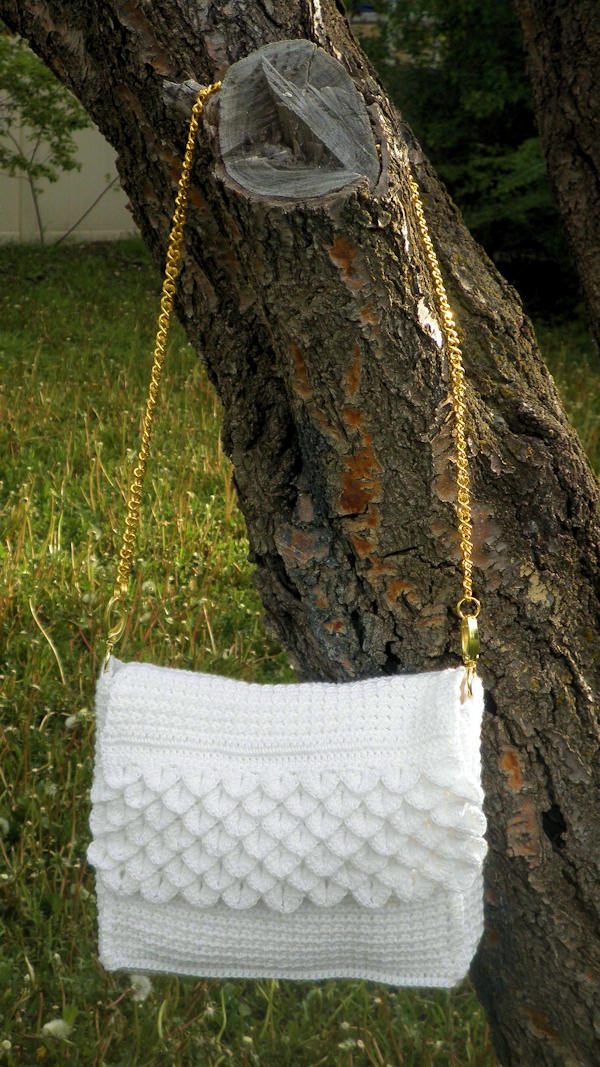
| Add Straps | |
| Attach the straps based on the type you’ve chosen. For the example purse, I crocheted around the metal attachments to hold it to the purse then attached a chain I’d purchased in the jewelry/bead section at Roberts Arts & Crafts. JoAnn’s Fabrics had a nice assortment of handles including a chain with lobster clasps at the ends. | |
| Pattern and photos © Darlisa P. Riggs, CatBird Studios | |